
Sourdough Bread
Sourdough Bread: A Complete Beginner’s Guide to Artisan Baking at Home
Bread Sourdough: You think it is too complicated to make at home? Most beginners do. The fact is that sourdough is not complicated; it is just misconceived. You can make bakery-type sourdough in your own kitchen with only five basic ingredients, with the correct explanation, and a starter that has been well fed.
The guide is meant specifically for beginners. No commercial yeast. No kneading machines. No confusing bakery jargon. Nothing but common-sense and a step-by-step approach.
A Beginner’s Honest Experience
A lot of novice bakers are annoyed. The dough doesn’t rise. The loaf turns dense. The crust becomes too hard. In the majority of cases, the problem does not lie in the recipe itself, but in timing, temperature, or a poor starter.
When I initially ventured into the bakery, I was lost in the terminology of terms such as hydration percentage, bulk fermentation, and proofing windows. But when I realised that only one thing was needed, watch the dough, not the clock, everything went simpler.
The Sourdough is not simply a recipe. It’s a living process.
What Makes This Method Different?
There are fewer complex bakery recipes, and this one is based on simplicity and structure. It provides you with the freedom and yet yields the same results.
Here’s what sets it apart:
- One bowl mixing method
- Only 5 simple ingredients
- No stand mixer required
- Adjustable fermentation time.
- Beginner-friendly explanations
We need to have a clue of the heart of sourdough baking, the starter, before making a portion of the dough.
Understanding Your Sourdough Starter
Sourdough starter is a fermented mixture of flour and water. It has wild yeast and friendly bacteria, which aid the bread in rising naturally without extra yeast. And with a good start and a strong one, your bread will rise like a sea. When it is soft, your loaf might come to be thick.
A good starter must appear to be bubbly and a bit domed on the surface, and multiply in size following feeding.
How to Feed a Sourdough Starter
Feeding supports the activity of your starter. Follow this simple process:
- Take out half of the starter and dispose of it.
- Combine flour, water, and weight in a ratio of 1:1:1.
- Mix thoroughly until smooth.
- Loosely cover and allow it to be left to rest at room temperature.
- Wait till it is bubbly when doubled.
- This normally consumes time of 2-8 hours basing on the room temperature.
The Float Test
Drop one teaspoon of starter into water:
- If it floats → It’s ready.
- If it sinks → Feed again and wait.
Ingredients for One Artisan Loaf
The ingredients in this recipe are few, and the quality and measurement are very important.
- 150g active sourdough starter
- 250g warm water
- 25g olive oil
- 500g bread flour
- 10g fine sea salt
Accuracy is guaranteed by using a digital kitchen scale. Measuring cups have the ability to cause unbalanced hydration.
Step-by-Step Process to Make Sourdough Bread
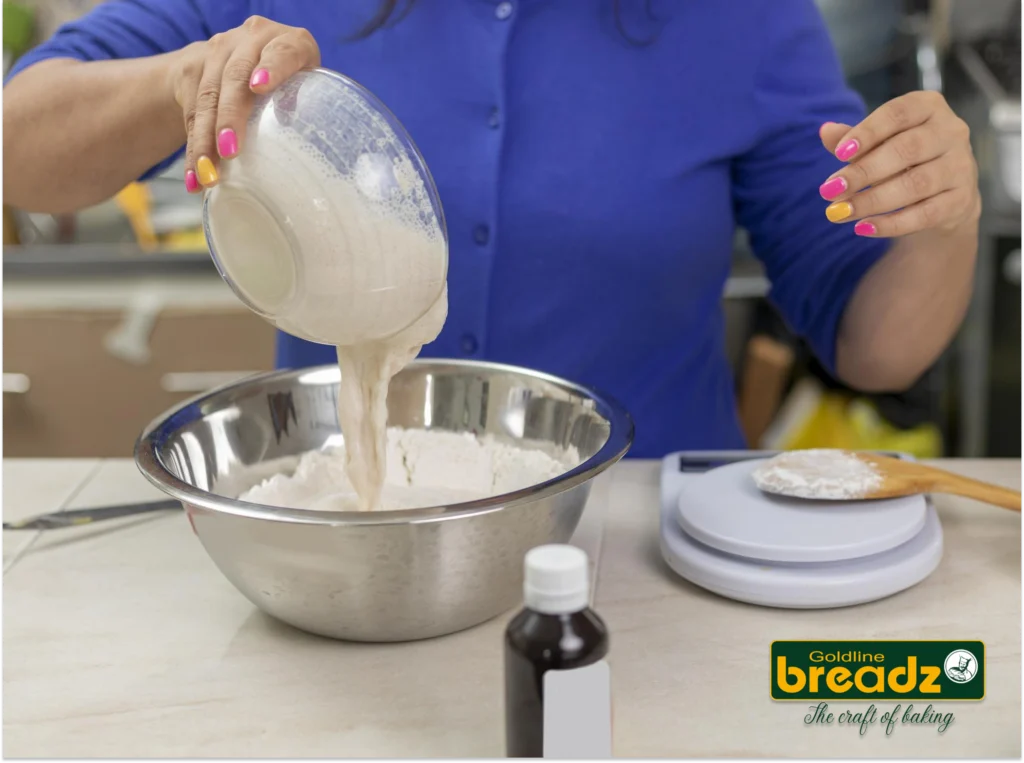
Step 1: Mixing the Dough
The first thing to do is to combine the starter, warm water, and olive oil in a large bowl. Continue stirring until the starter is dissolved. Add flour and salt, and stir until a shaggy and coarse dough is created. At this point, it will not present itself as smooth at all that is quite natural.
Cover the bowl and leave the dough to rest between 30 and 60 minutes. This autolyse is known as the rest period and consequently allows the gluten to develop naturally without kneading. It increases the strength of the dough and eases further shaping.
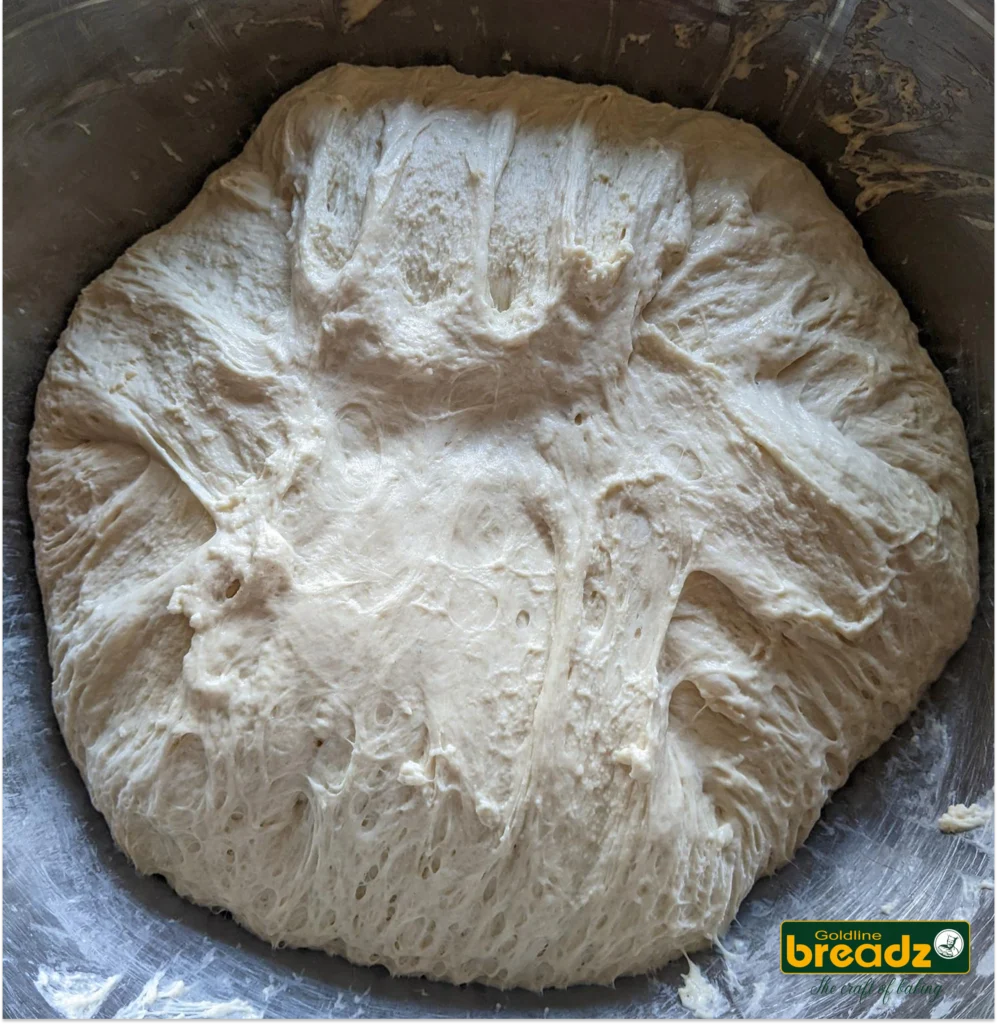
Step 2: Bulk Fermentation (First Rise)
Upon resting, the dough will rise at room temperature. This time will depend on the temperature.
You do not look at the clock; you look for indications:
- Dough becomes puffy
- The surface appears a little domed.
- Nearly doubled in size
- This can take 34 hours in hot climates. It may require 1012 hours in cooler kitchens.
An additional optional but beneficial procedure is to make 2–3 folds and stretches in the first several hours. This enhances the structure of the dough and enhances oven spring.
Step 3: Shaping the Dough
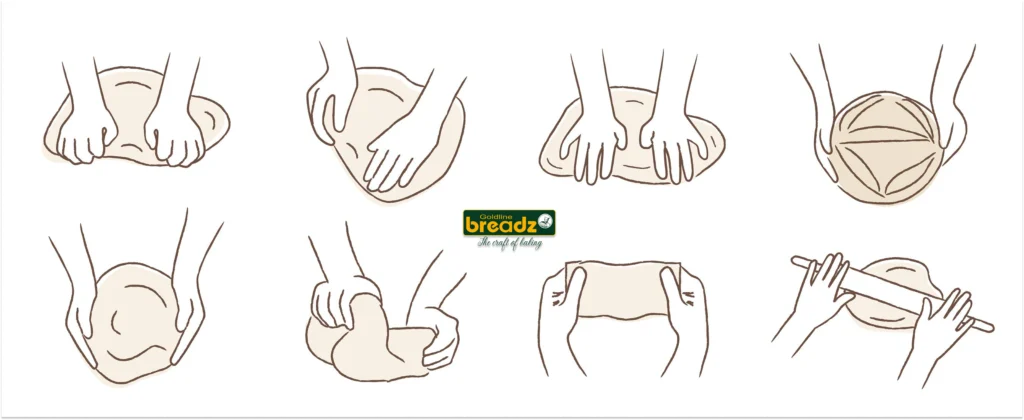
Pour the dough onto a well-floured surface. Fold the sides inwards at the center to create a circular shape. Turn it inside out, and roll it to create tension on the surface. Such tension assists the bread to rise but not to expand.
Do not over-handle the dough. No such thing as hard confidence.
Step 4: Second Rise (Proofing)
Put the rolled out dough into a floured bowl or a lined Dutch oven. Allow to rest once more, 30-60 minutes until slightly puffy.
At the same time, prepare your oven to 450 o C. Oven spring needs to be properly preheated.
Step 5: Scoring and Baking

Mark the dough before baking with a sharp knife or bread lame. The bread should have a 2-3 inch shallow cut so that it can expand in the oven.
Bake covered for 20 minutes. Then take away the lid and bake approximately 40 minutes until the crust becomes dark brown. The interior temperature ought to be 205-210°F.
To get an additional crispy crust, slightly open the door of the oven in the last 10 minutes.
The bread must be left to cool a minimum of one hour prior to slicing. The premature cutting causes a gummy texture.
A Simple Weekend Baking Plan
If you prefer structure, here’s an easy schedule:
- Friday evening: Feed your starter
- Saturday morning: Mix the dough
- Saturday afternoon: Bulk fermentation
- Sunday morning: Shape, proof, and bake
- Sunday brunch: Enjoy fresh sourdough
Final Thoughts
The baking of sourdough bread is not a race. Each loaf can teach you a new thing about fermentation, timing and patience. You need not have a perfect first loaf — and that is all. Practice is a natural way of improving.
After getting used to the basics, you can experiment with:
- Roasted garlic additions
- Herb-infused loaves
- Jalapeño variations and cheese.
- Whole wheat blends
Sourdough is beautiful because of its simplicity. Flour, water, salt — and time. These factors open the door to the art of artisan bread.